A pleated screen is convenient only when its movement, guides, seals, and clearances match the opening where it is installed. By the end, you will know how to operate one correctly, specify the right panel arrangement, measure the opening, test frame compatibility, and judge whether its access and durability suit your site.
Key takeaways
- Operate the handle or bar, not the pleated mesh.
- Choose single, double, or multi-panel layouts around your opening.
- Measure width, height, and mounting surfaces before ordering.
- Check thresholds and frame clearance for smooth, unobstructed access.
What Happens When You Open and Close a Pleated Screen?
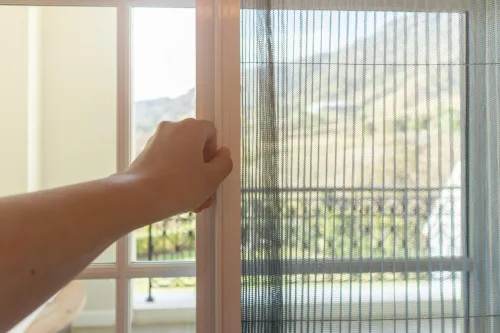
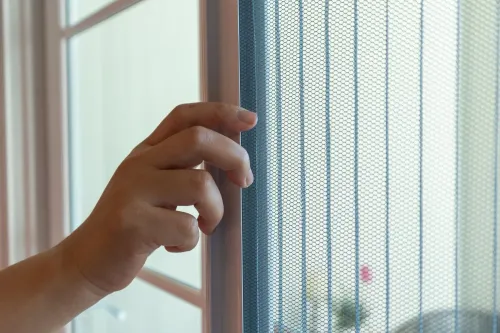
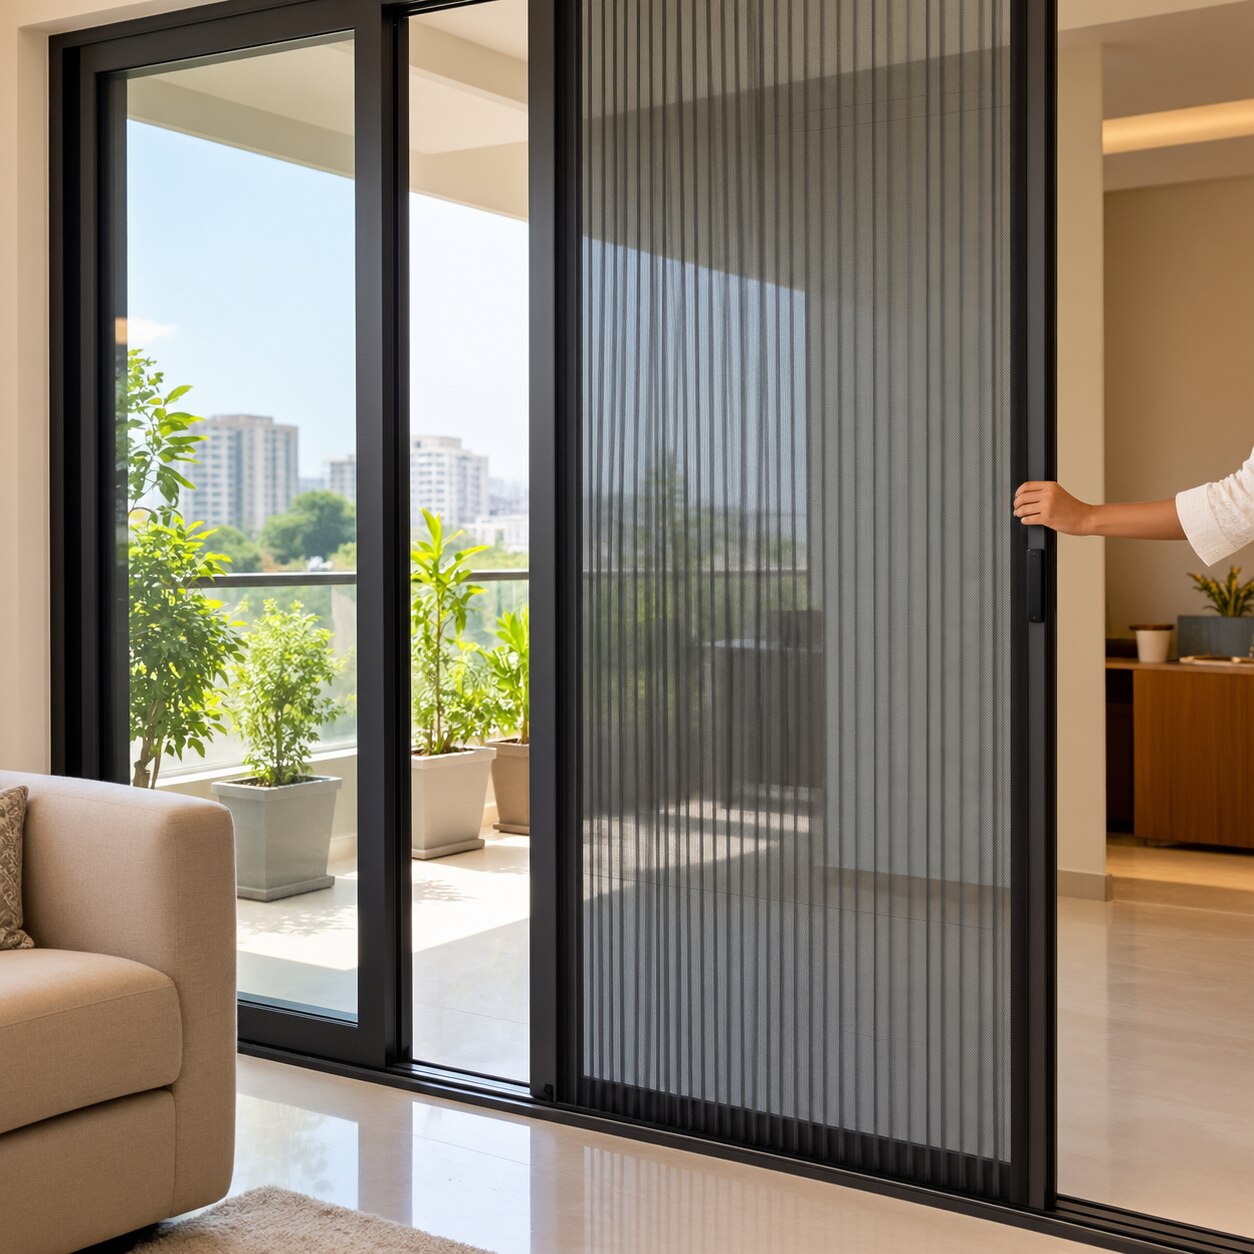
During ordinary use, move the handle or operating bar rather than the mesh. The pleated mesh operation follows an accordion action: pulling the bar unfolds the fabric across the opening, while pushing it back gathers the folds into a compact stack.
Use this sequence for a folding insect screen:
- Release the handle gently and keep the bar upright as you start moving it.
- Guide the screen in a straight line along the side track, without twisting the frame.
- Continue until the mesh is fully open or fully gathered; do not stop with the handle at an angle.
- Close the screen by reversing the same path, allowing each pleat to fold evenly.
- Engage the latch or magnetic meeting stile only after the edges align.
Some designs keep the compressed pleats in a side track; others retract into a screen cassette. The gathered stack still occupies space, so do not push furniture, doors, or loose curtains into it.
Never pull the mesh itself, especially from one corner. That uneven force can stretch or deform pleats, overload guide cords or rollers, and pull the screen out of its track. Do not force the handle against debris, a locked latch, or strong wind pressure; clear the obstruction first.
A pleated insect screen is not fall protection, anti-intrusion protection, or bird-containment netting. Use separately engineered systems for those hazards.
Which Panel Arrangement and Opening Direction Fit Your Space?
Choose a single-panel pleated screen for a narrow doorway, casement window, or opening used from one side. Select a double-panel screen when the aperture is wide enough to make one moving panel heavy or unstable.
| Option | What it means | When it applies |
|---|---|---|
| Single panel | One pleated mesh panel travels to one side | Narrow or moderate-width windows, balcony doors, and doorways with clear stacking space on one jamb |
| Double panel | Two independently moving panels divide the opening | Wide apertures where reducing each panel’s span makes operation easier |
| Centre-opening insect screen | Two panels meet and separate at the middle | French doors, symmetrical entrances, or doorways needing access from either side |
Use a pleated screen for wide openings only after checking where each folded stack will sit. A centre-opening design needs an accurately aligned meeting stile; a gap there defeats the insect barrier and makes the panels catch during movement.
For a doorway, open toward the side with fewer handles, locks, furniture, or traffic conflicts. A single panel works when one jamb offers enough stacking room; a centre-opening pair suits a balanced entrance but leaves hardware at the meeting line.
Reserve space for the compressed pleats, side profiles, handles, and seals, because the retracted screen never becomes zero-width.
What Must You Measure Before Ordering?
Measure the finished opening, not the nominal door or window size. Record the finished opening width at the top, middle, and bottom; use the smallest result. Measure the opening height at the left, centre, and right, again using the smallest result.
This exposes tapered or out-of-square apertures that can compress the pleats unevenly and leave gaps.
| Measurement | How to take it | Why it matters |
|---|---|---|
| Finished opening width | Measure between the actual mounting faces at three heights | Sets the screen span and required stack space |
| Opening height | Measure from the sill or threshold to the top mounting surface at three points | Sets track length and reveals a sloping opening |
| Frame depth | Measure the flat frame surface available for the side and top tracks | Confirms that the profiles can sit without covering seals or hardware |
| Reveal size | Measure the recess depth and width where the frame meets the wall or existing frame | Determines whether the system fits inside the reveal or needs face mounting |
| Hardware clearance | Measure how far handles, locks, hinges, and restrictors project into the screen path | Prevents the operating bar or mesh from striking them |
Also measure both diagonals. A large difference indicates a twisted frame that needs correction rather than compensation through screen adjustment. Record the sill condition: note its level, slope, drainage channel, and any raised lip that could interrupt the bottom guide.
Ask for the manufacturer’s required mounting width, frame depth, pleat pitch, and compressed screen-stack width. Reserve clearance for the stack at its parked side, because a handle, lock body, or curtain track can block full opening even when the mesh itself fits.
How Do You Check Access, Thresholds, and Frame Compatibility?
A track fits only when the opening has a sound, continuous surface for anchorage, enough frame depth for the profiles, and a threshold that lets the mesh close without a gap. Check the route with the screen fully open and closed; the folded stack, handle, meeting stile, and seals still occupy usable space.
- Slide each door or window and mark every handle, lock, roller, hinge, and curtain that could obstruct the side or top track.
- For a sliding door, confirm that the screen track can run parallel to the existing frame without blocking the sliding panel or its drainage channel.
- For French doors, check both leaves, the centre meeting line, and the opening direction. The closed screen must seal continuously across that joint.
- For a casement window, verify that the mesh sits on the room-side or outside face without colliding with the opening sash, restrictor, or handle.
- At a balcony opening, inspect the sill for level, strength, drainage, and wind exposure. An uneven sill creates a bottom gap and prevents barrier-free screen access.
- Check the frame material and fixing route. uPVC frame compatibility depends on a reinforced fixing zone; an aluminium window frame needs a flat profile that accepts the chosen fastener; a wooden door frame must be solid, not split or rotten.
- Measure diagonal corner-to-corner differences and inspect each corner. A twisted or out-of-square aperture needs correction before fitting tracks.
Ask Delmen Nets 9650012393 to confirm the track section, fixing method, and threshold detail against your actual frame rather than its nominal opening size.
Related product
 | Pleated Mesh Systems Manufacturer and Supplier in Gurgaon Delmen Nets is the manufacturers and the suppliers of an excellent and superior quality of Pleated Mesh Systems... View product → |
How Will the Mesh Perform Under Real Use?
Compare the systems by traffic, exposure, and how much permanence you need; no design wins in every opening.
| System | Strength | Trade-off |
|---|---|---|
| Fixed | Highest simplicity and pleated mesh durability | Cannot retract for access |
| Roller | Compact retraction for windows | Spring, cassette, and edge seals need servicing |
| Velcro | Removable and inexpensive | Weaker perimeter seal and less convenient daily access |
| Pleated | Wide, frequent passage with low storage space | Pleats and guides collect dirt |
| Barrier-free | Minimal threshold obstruction | Reduced bottom restraint can weaken sealing and wind stability |
Ask the supplier for the tested wind pressure, maximum span, guide arrangement, anchorage method, and operating limit for your opening. A broad balcony door exposed to suction needs more evidence than a sheltered window. Do not treat insect mesh as fall protection, anti-intrusion protection, or bird-containment netting.
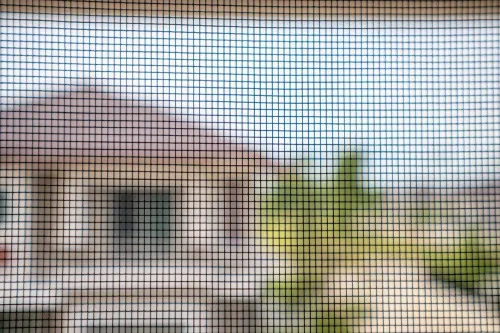
Specify the mesh by mosquito mesh aperture, not mesh count alone. Request the mesh count and yarn diameter, such as 18 × 16 with the stated wire or yarn size; identical counts can produce different clear openings, airflow, daylight, and tear resistance.
Finer 0.6–0.9 mm apertures exclude smaller insects but reduce airflow more than conventional 1.0–1.5 mm screening.
Ask these questions before ordering:
- Can pets push through or claw the mesh, and can children operate the handle without forcing it?
- How will the supplier seal the sill, meeting stile, corners, and retaining edges?
- What is the bottom guide maintenance routine?
- Can you gently vacuum or soft-brush the pleats, then wash them with an approved cleaner? Never pressure-wash, use solvents, or force a jammed fold.
Frequently asked questions
What happens when you open and close a pleated screen?
Pulling the operating bar unfolds the accordion-shaped mesh across the opening. Pushing it back gathers the mesh into a compact stack beside the frame.
Which panel arrangement and opening direction fit your space?
Choose the arrangement and opening direction that leave the clearest access route, suit the available stacking space, and avoid conflicts with doors, furniture, or nearby walls.
What must you measure before ordering a pleated screen?
Measure the opening width and height at multiple points, then record the smallest measurements and the available frame or mounting surface.
How do you check access, thresholds, and frame compatibility?
Check that the threshold is level and clear, the operating bar has room to move, and the frame provides a secure mounting surface without obstructing the opening.
How will pleated mesh perform under real use?
Assess daily traffic, handling habits, pets or children, wind exposure, cleaning access, and whether the mesh will face repeated opening and closing.